I am currently working on building a fresh visual identity and adding new UI designs for Domino King. As part of this overhaul, I redesigned the loading screen, completed the visual adjustments, and integrated it into the game. In this devlog, I’d like to share the techniques and optimization strategies I used while creating this page.

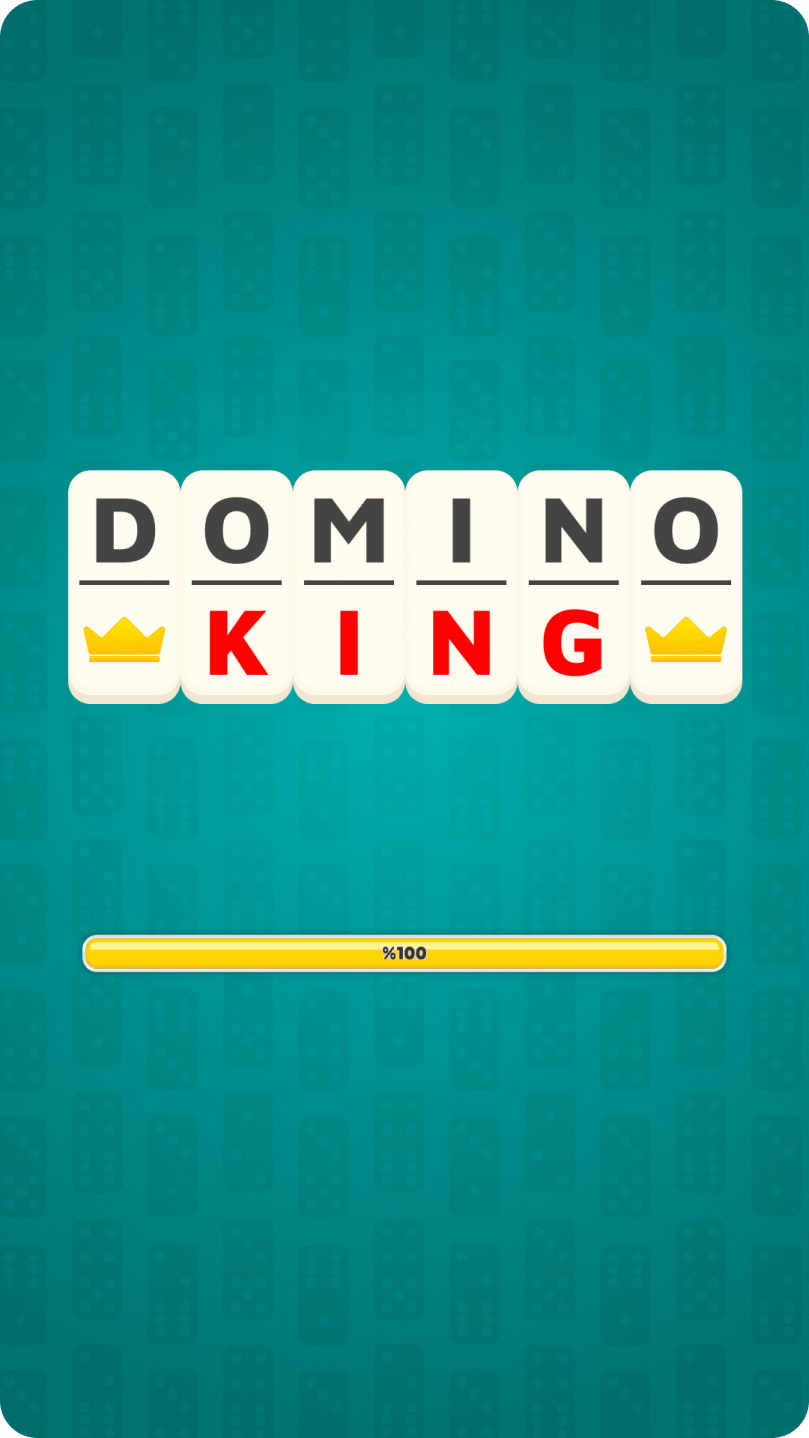
The old loading screen lacked a distinct design direction, whereas the new version features a more modern, standard UI layout.
Bringing the Background to Life with Shader Graph
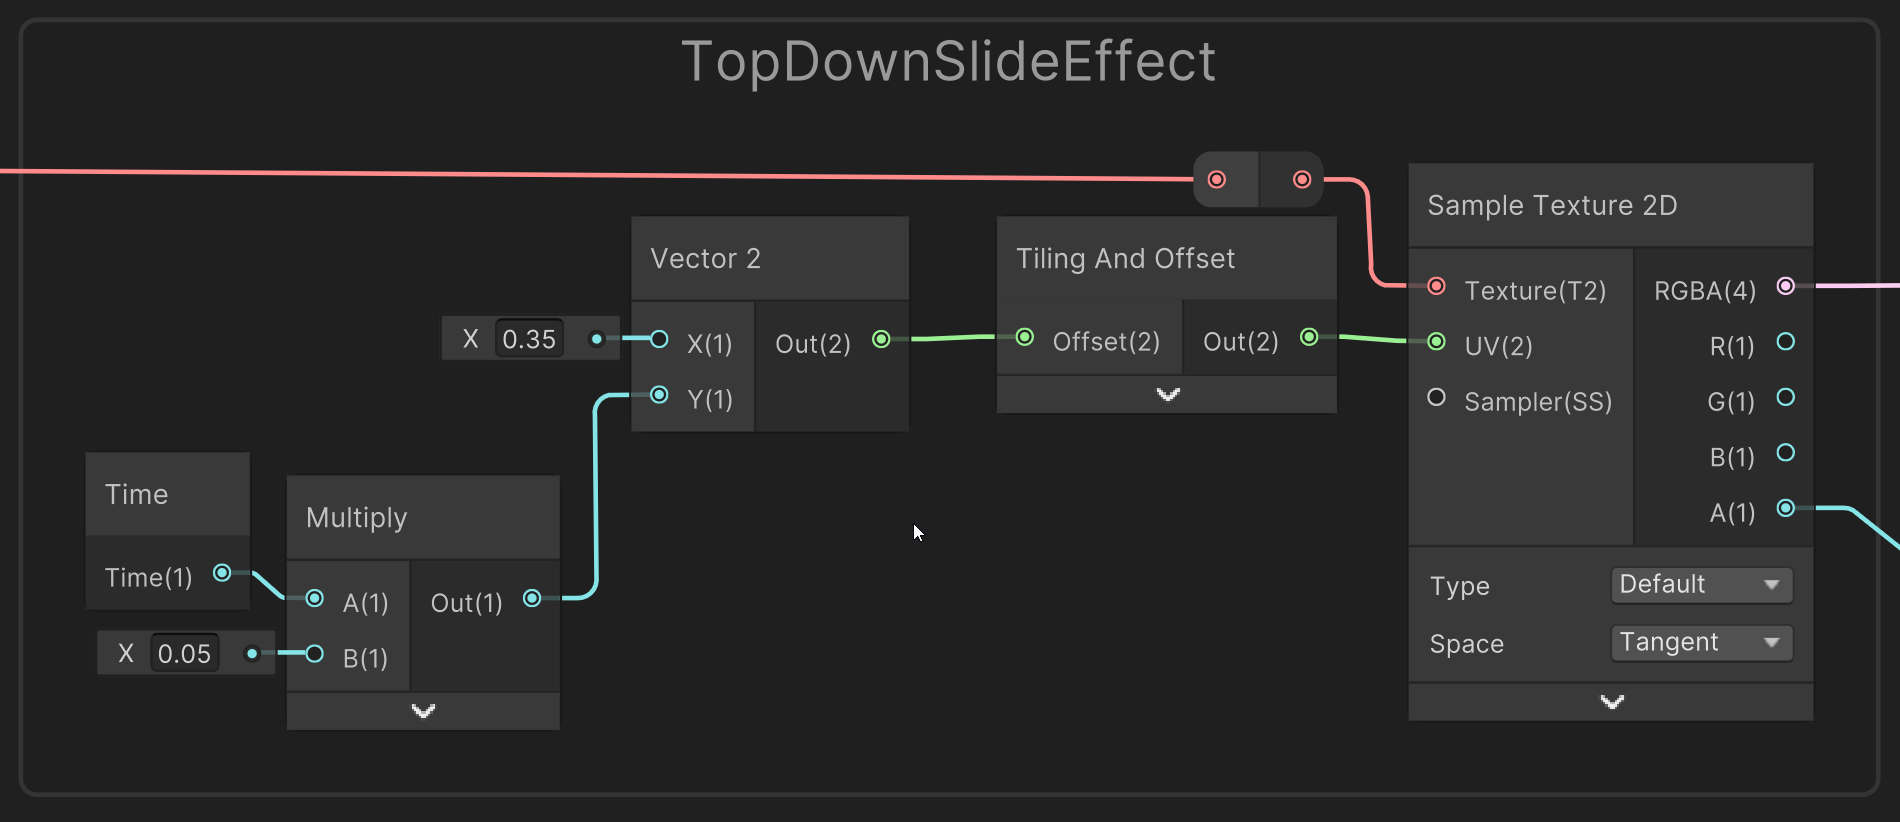
Once the layout was set, I wanted to introduce subtle motion to the screen. Moving the background domino tiles felt like the perfect touch, so I built a custom shader using Shader Graph:
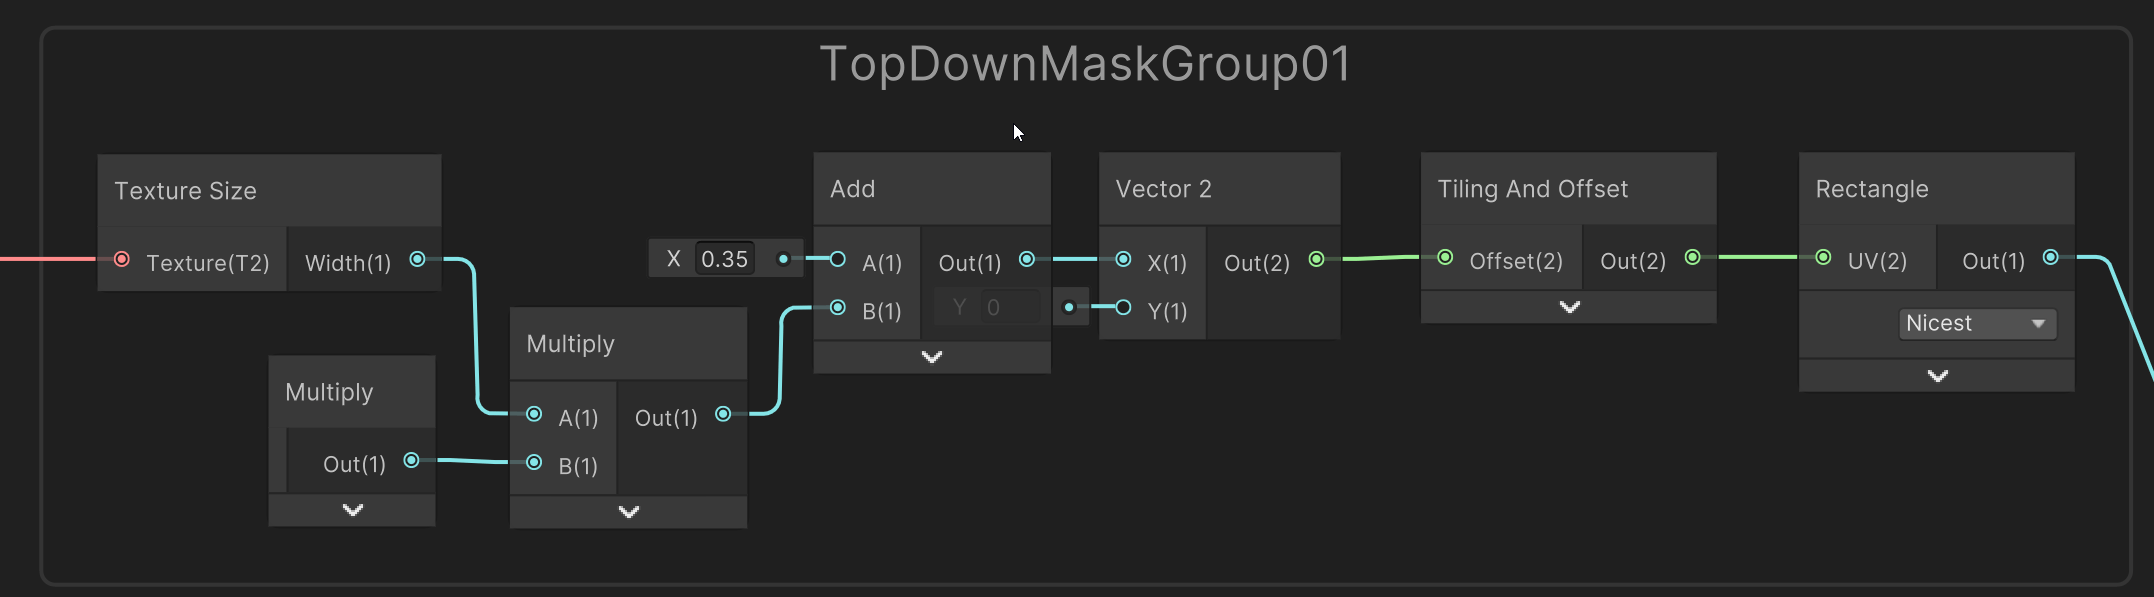
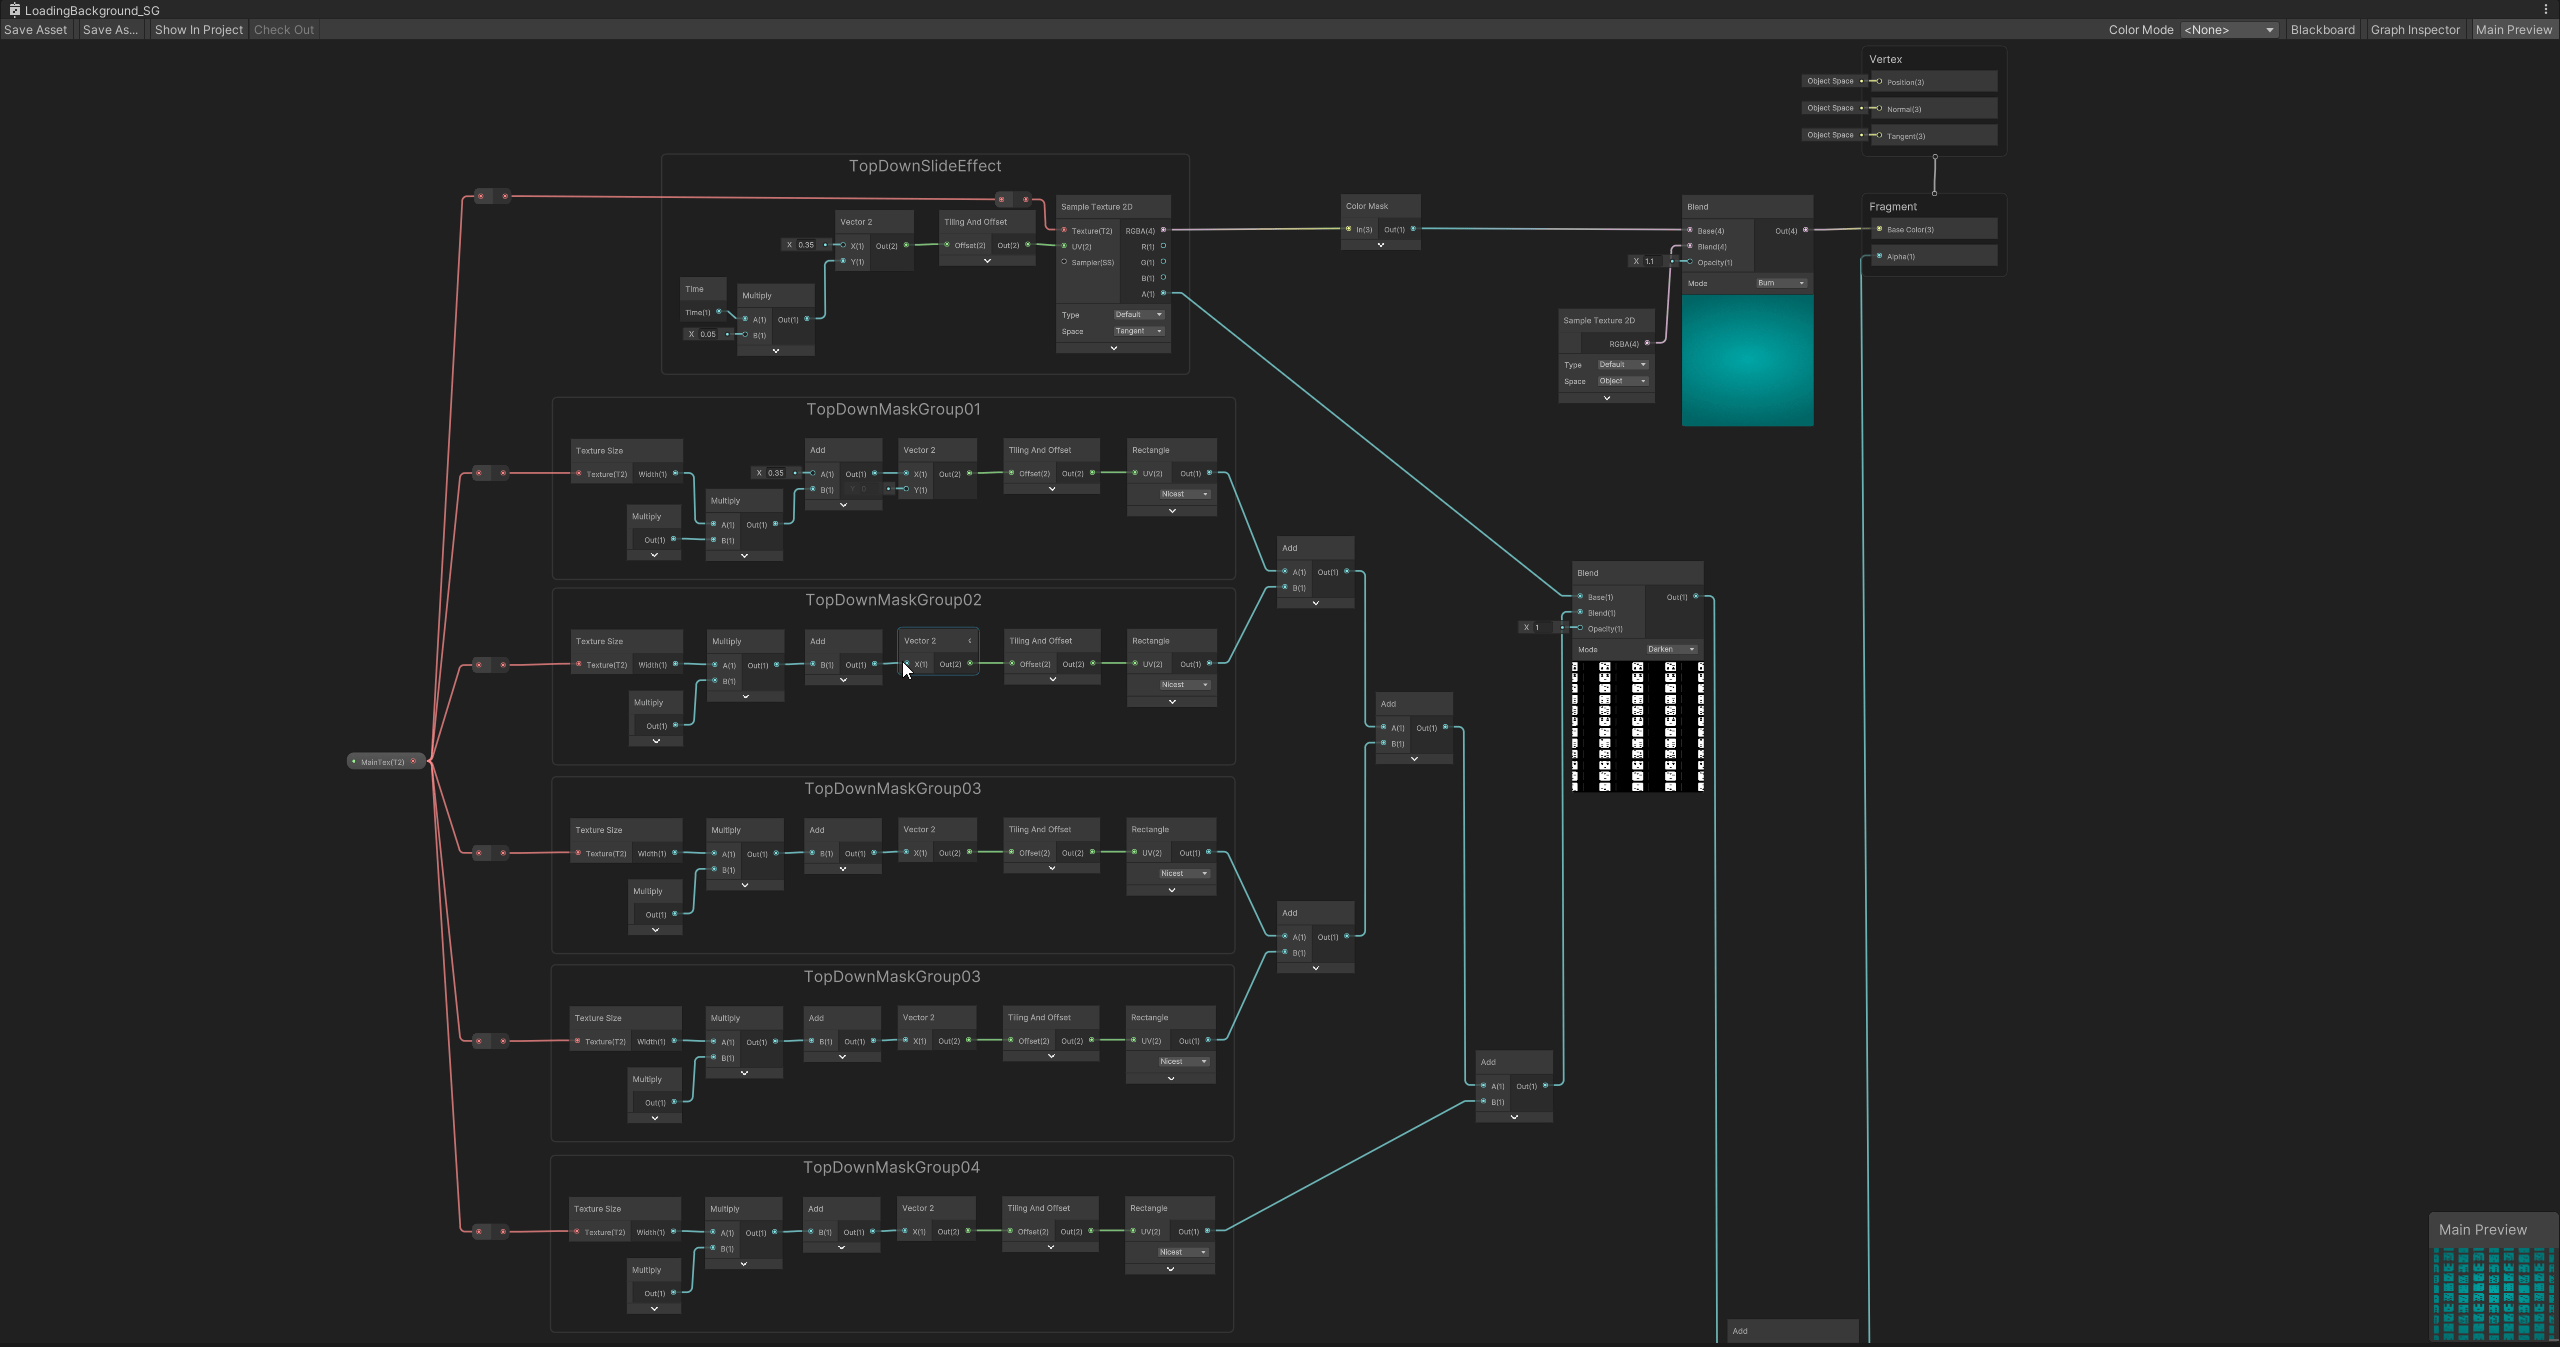
- Patterning & Masking: I built the graph around a single vertical domino group to easily create a repeating pattern. Using masking techniques, I cropped the UV tiling to display only the necessary regions.
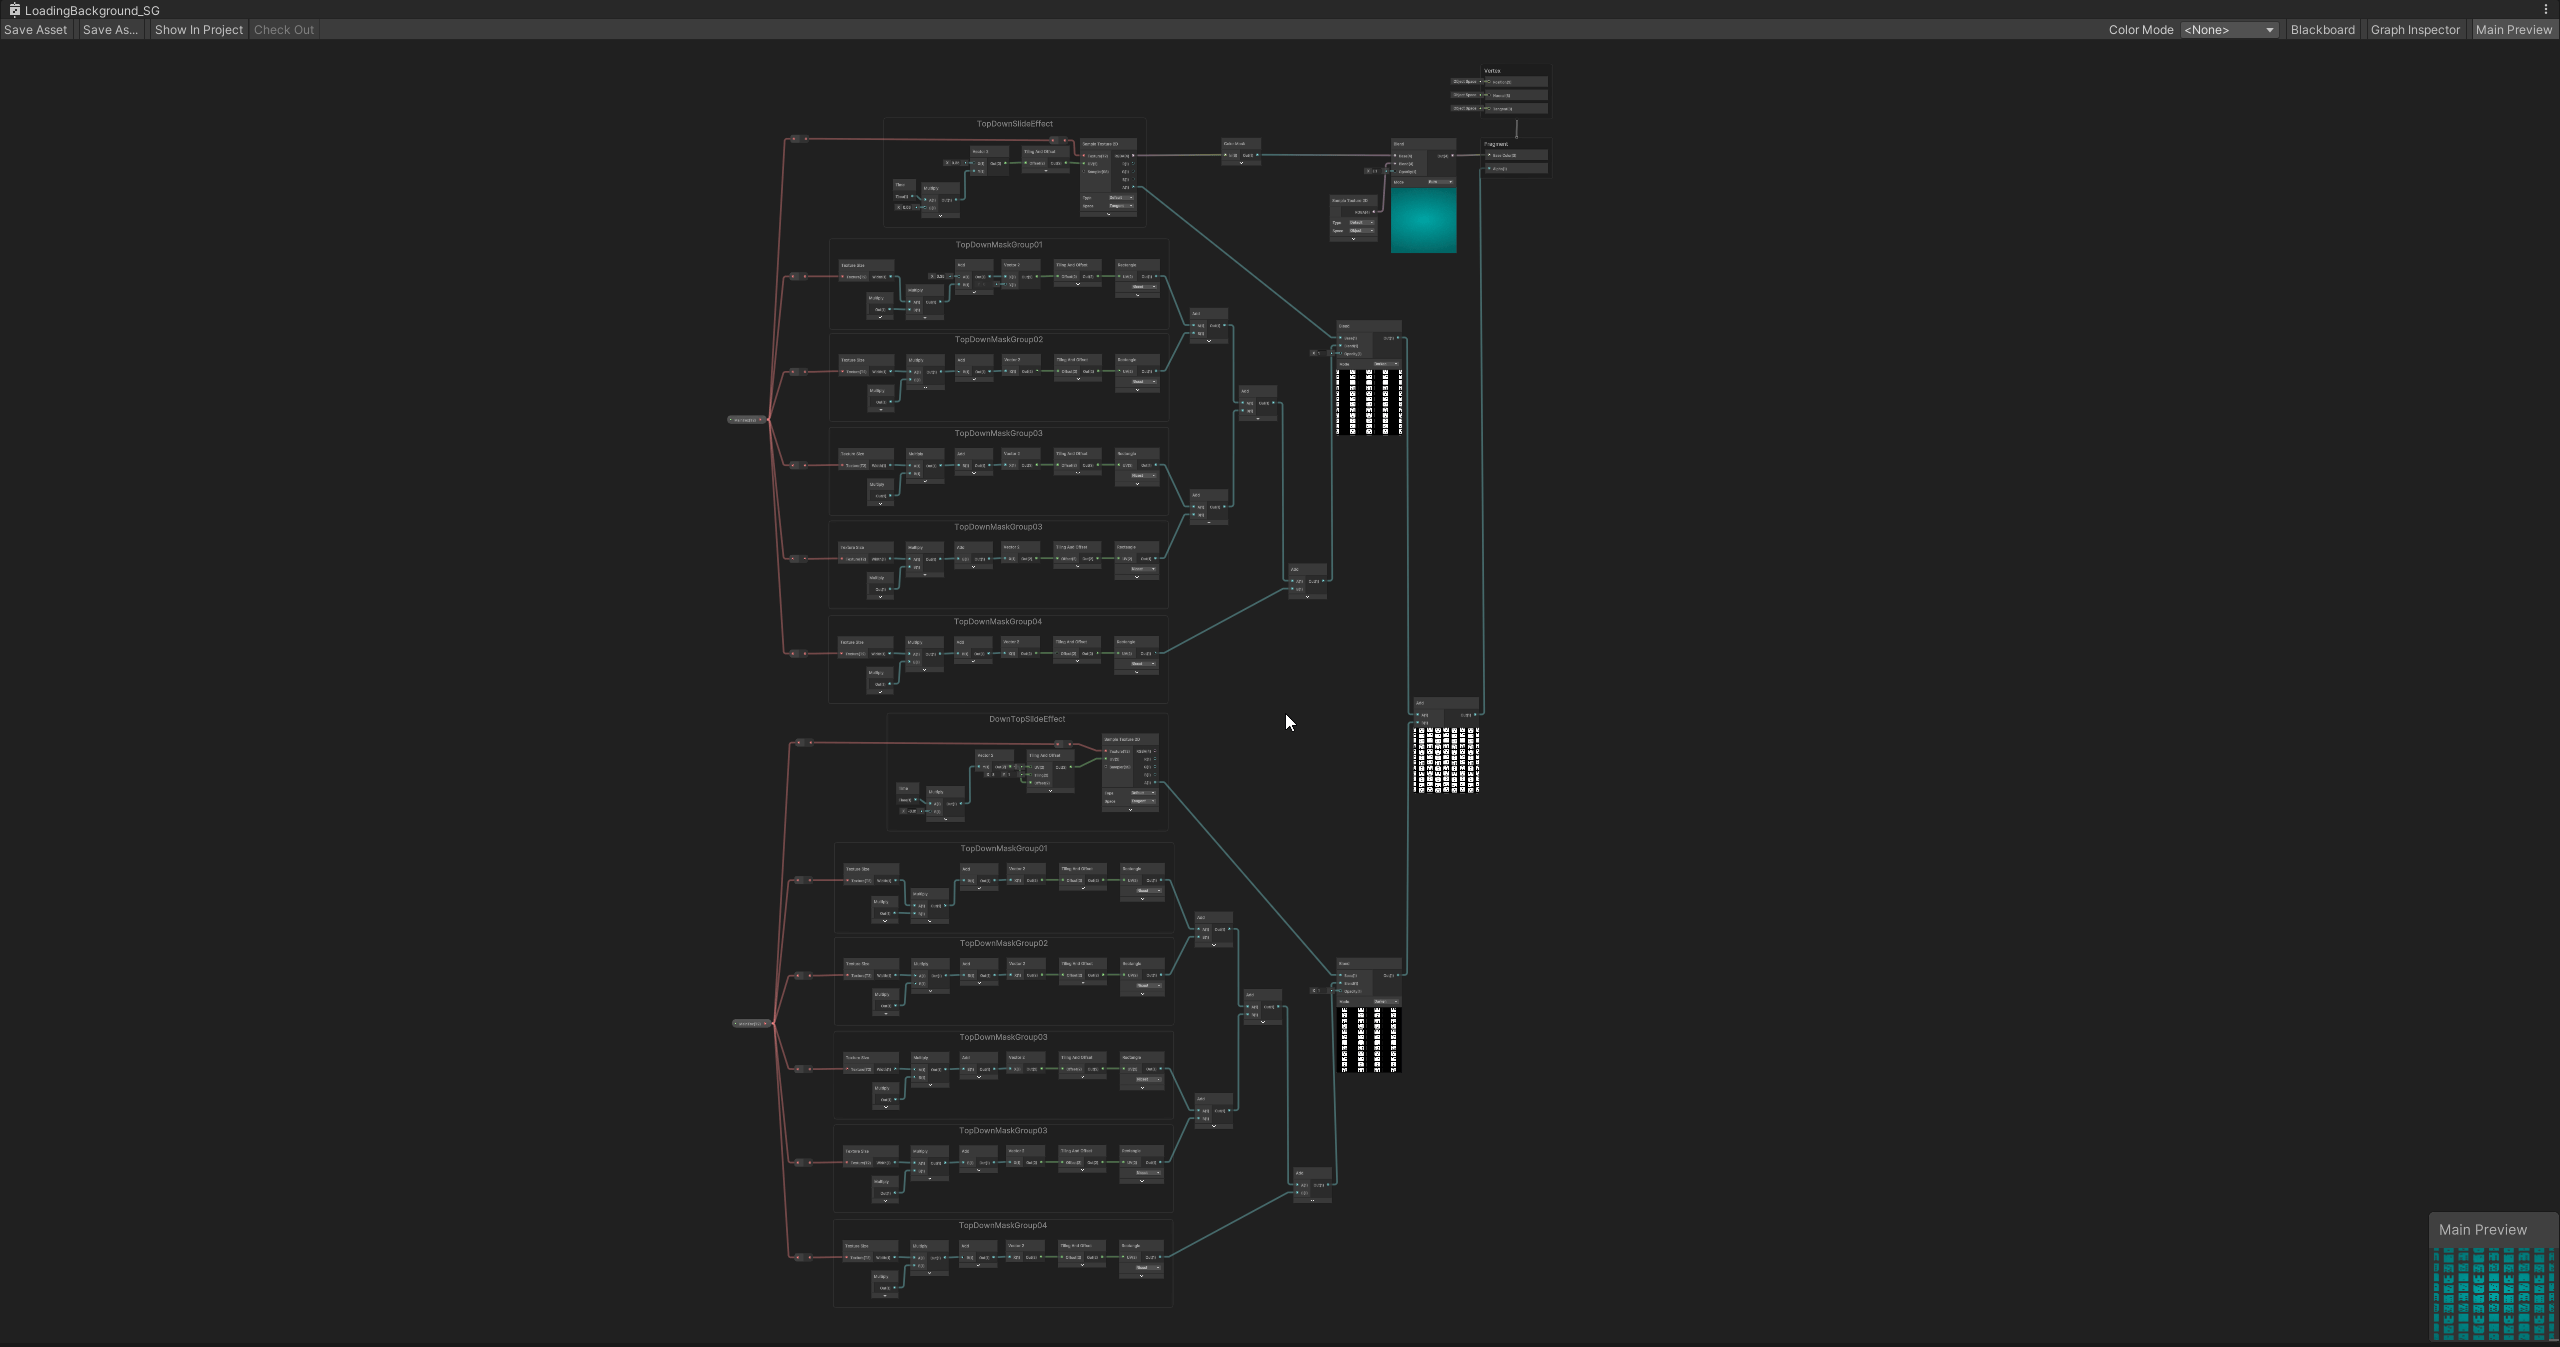
- Dual-Direction Motion: To achieve a more dynamic and pleasing visual layer, I split the effect into two separate groups and animated them moving in opposite directions.

Performance & Optimization (Tris / Verts Reduction)
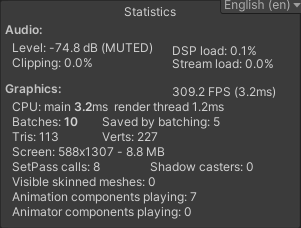
I could have achieved a similar background motion by placing multiple individual sprites in the scene. However, relying on multiple sprite renderers would significantly increase the Tris (Triangle Count) and Verts (Vertex Count), resulting in unnecessary Draw Calls.
By using a single texture + shader-based masking, I managed to keep the rendering cost minimal while keeping the visual quality high. You can see the comparison between the single-texture shader approach vs. the multi-sprite approach below:

I’ve attached the Shader Graph layout below for anyone interested in inspecting the node setup. I’d love to hear your thoughts and feedback!